Assalammualaikum
Hi everyone.
Wow, I haven't made any tutorial for years.
So, today I will start one!
How to install the snap button on your project.
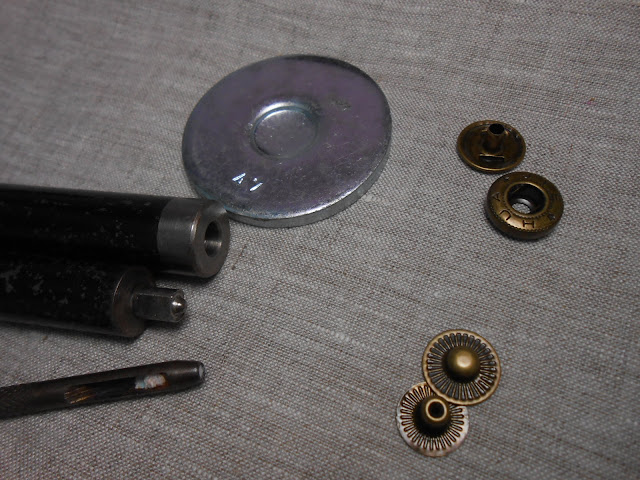 |
| First, when you buy the snap buttons, make sure you also have the tools to install it. Don't ask me whether I sell the tools haha...I don't. I bought mine in Bangkok years ago. Here you can see the tool sets and the snap button set. |
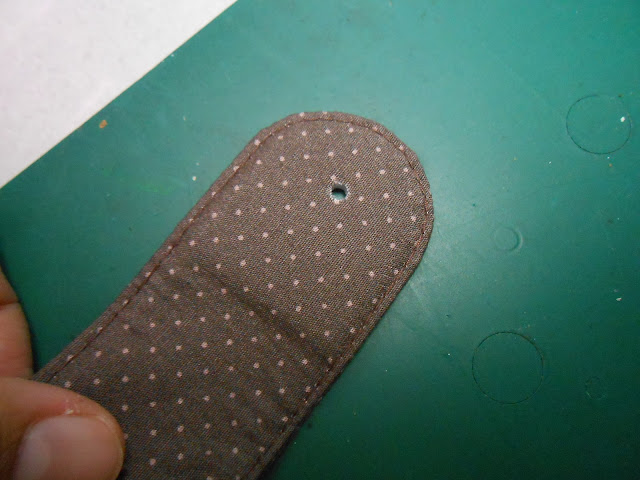 |
| Punch a hole on your project (this is a tab for my Olivia wallet). I hope you have measure the exact location where you should put your snap button before you punch a hole, because there is no turning back after the hole is made! Haha... |
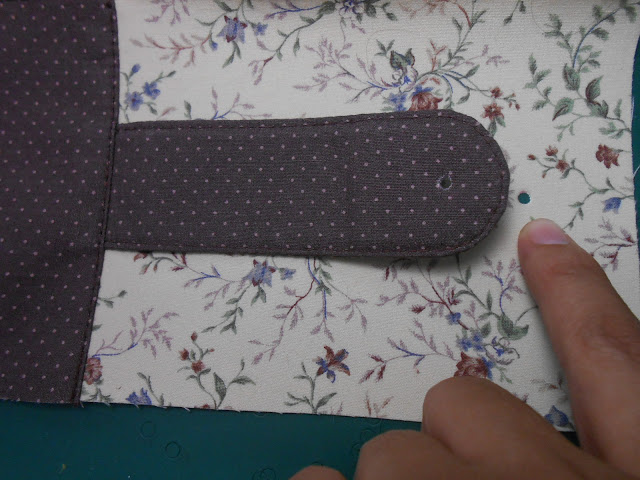 |
| Punch another hole for the snap partner to set in. |
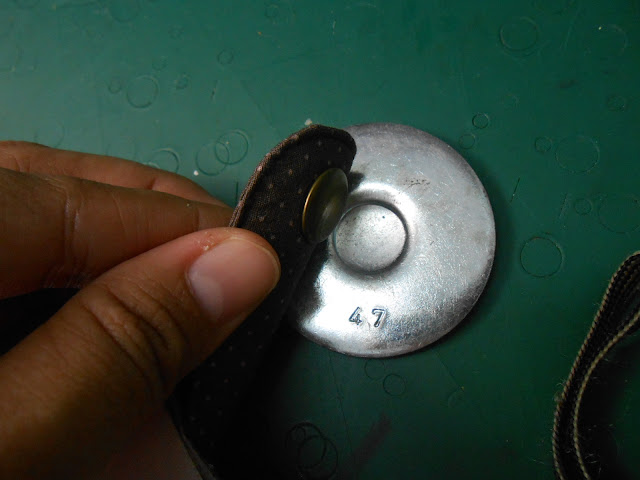 |
| Then, set in the front cover of the snap button and rest it on the plate. The plate is to ensure that your button cover will not be dented when you use a hammer to hit it. |
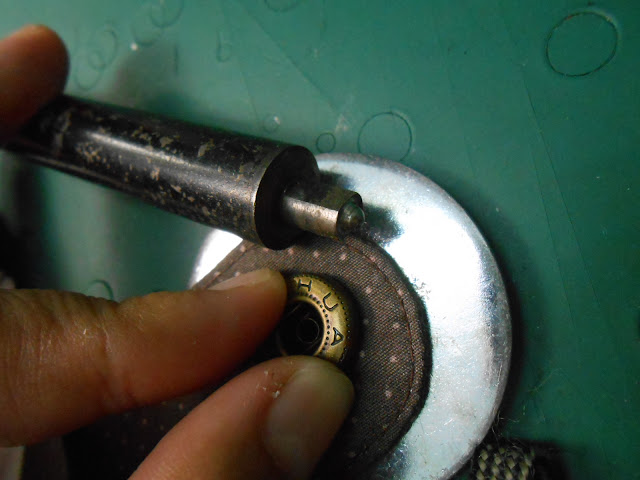 |
| Next, place the button cover's pair on the back of the button cover and use this specific tool and hit with a hammer to set it in. |
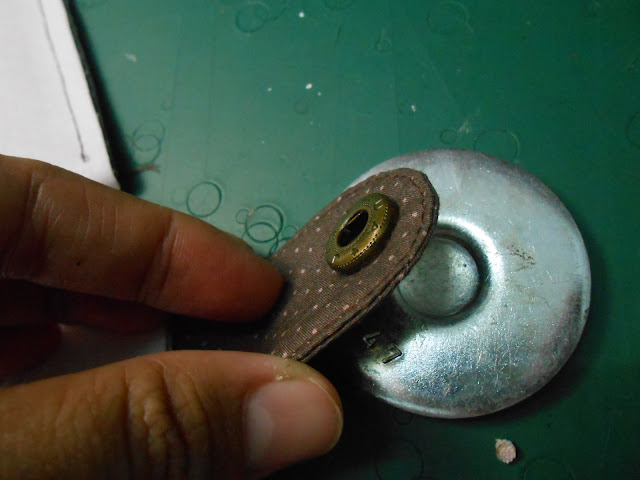 |
| Now, you have install the first half of your snap button. Make sure the snap button does not move/rotate. If it does, it means your snap button is not tight enough. So give more hits. Gentle but firm. |
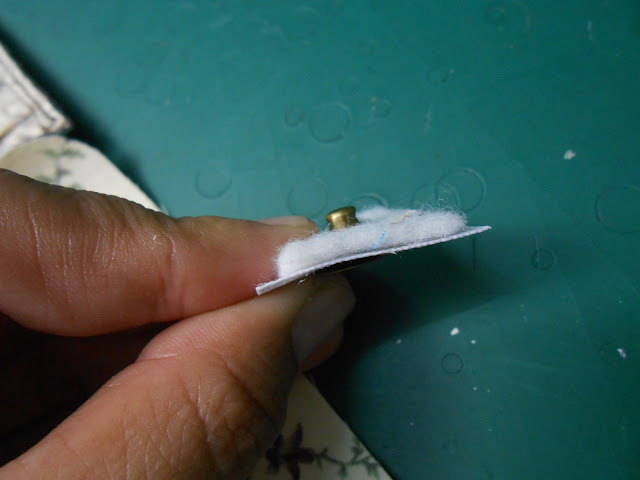 |
| On the second half of your snap button, cut a small square of a stiff interfacing and a batting each and insert the longer part of the set in. |
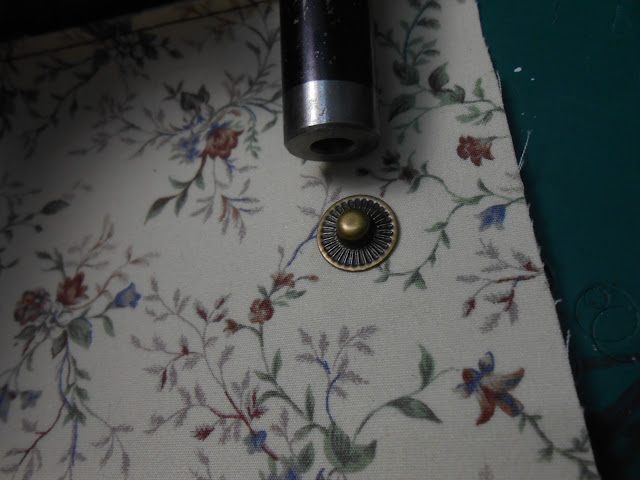 |
| And put the last piece of the snap button on top and use the tool (in the picture) on the rounded part and hit it with a hammer. Make sure that the snap button does not rotate/move, if it does, that's mean your snap button is not tight enough. Again give more hits! Gentle but firm. |
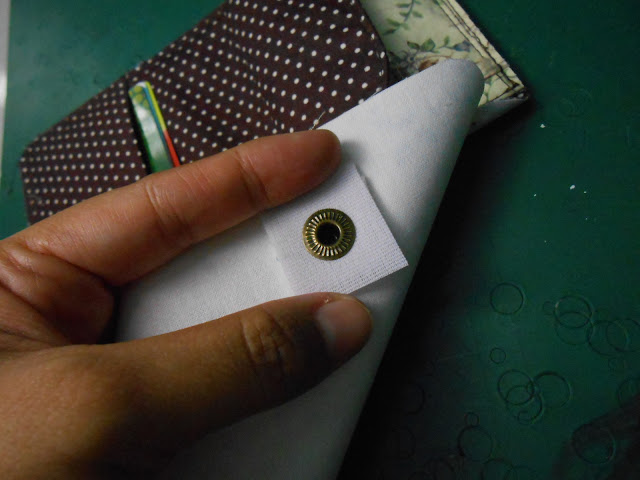 |
| This is what it will looks like on the back. |
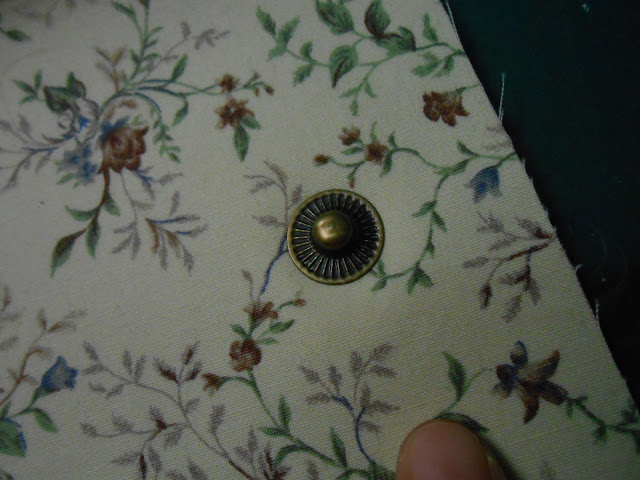 |
And this is what it looks like in front
|
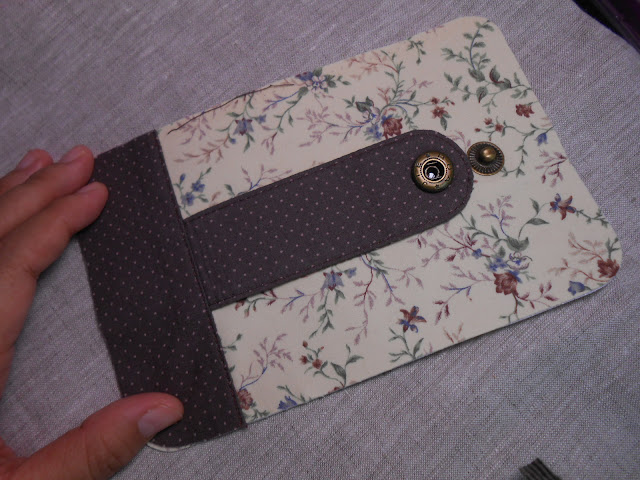 |
| Now, you have completed your mission to install your snap button on your project. |
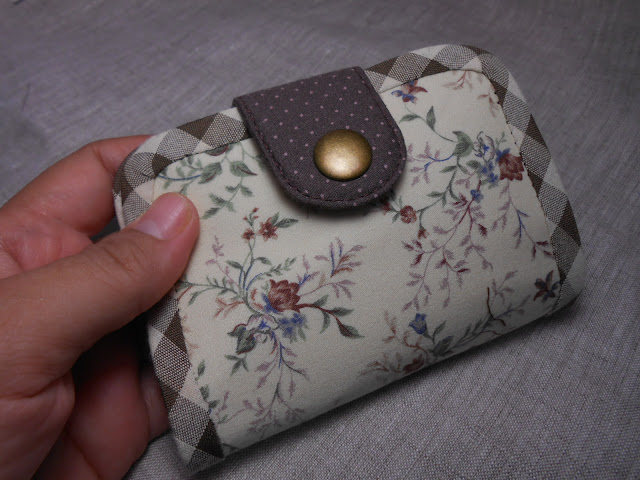 |
I have done mine on my little Olivia Practical Wallet!
HAPPY SEWING! |


Comments