Assalammualaikum
Hi everyone!
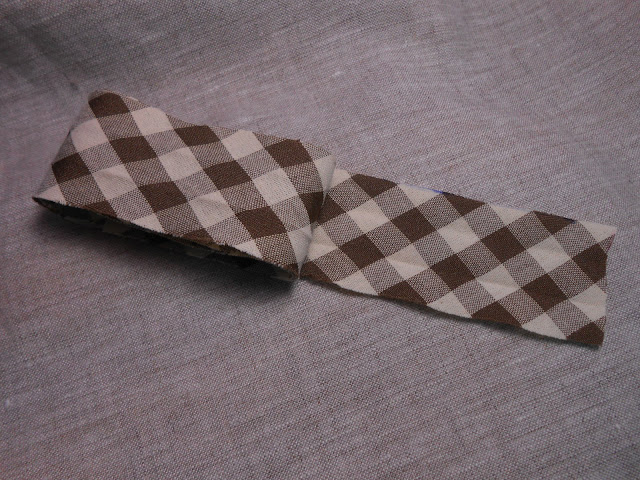
This is how I do my binding on every project I make.
The tutorials was from a book, but somehow, I can't understand what was the author trying to achieve or maybe I am the not-so-bright person to understand it...hahaha...anyway, I did a lot of finding from the internet and finally...finally find the reasonable way to understand how to do it! Silly me!
Here we go!
 |
Prepare the desired length and wide of your bias binding, in my case, I prepared about 3.6cm wide of binding strip.
You can use pre-made binding or if you are making your own, cut your fabric on 45 degree angle, they call it on bias. |
 |
| Now, pin it around your project, carefully not to stretch your binding strip. This is a mistake that I have made before I met my dear friend, Ms Nok from Thailand. |
 |
| Pin corners as showed in the picture. |
 |
| And you will come to the end like this. |
 |
| Draw a 45 degree angle with your fabric marker. |
 |
| On another end stretch it a little bit and mark the both end of previous drawn line earlier. |
 |
| Like so...make sense? |
 |
| And like this...again, make sense? |
 |
| Draw a line on that other end, and mark a 0.5cm away from the that first line. |
 |
| Draw another line, now you have 2 lines here. |
 |
| Cut the excess fabric. |
 |
| And cut the other half also...but at the second line. |
 |
| You will get this. |
 |
| Now match both end right side facing together. |
 |
| Pin it, see carefully on how you should pin it, enlarge the picture if you are not sure. |
 |
| Sew the seam, and this is how it will looks like. |
 |
| Press (iron) the seam open. |
 |
| Cut the excess fabric. |
 |
| And pin back the binding around the body of your project. |
 |
| Fold in as you would do in binding and from this point, you can either hand sew to close the binding or machine sew it. It is your choice. But, I close it with ladder stitch. Yes, hand stitch! |
 |
| Make a knot before you start. |
 |
| And stitch about 2mm stitch! Using the ladder stitch, of course! :) Stitch it all around and you are done! :D |


Comments